The Sample You Approved Isn’t the Bulk You’ll Receive (And How to Catch It Before Shipment)
To check whether bulk matches your approved sample, record its version and lock the fabric, measurements, logo and packaging specifications before production. Agree inspection criteria and compare bulk with that reference before shipment. A good development sample alone does not prove that later fabric lots and finished garments will match it.
A factory sends you a sample. The fabric feels right. The stitching is clean. The logo is positioned exactly where you wanted it. You approve, pay the deposit, and 30 days later your 2,000-pc order arrives.
Then you find: the fabric has a slightly different hand-feel. Some pieces have looser stitching at the waistband. The logo placement varies by 5mm across units. The hangtag attachment is different from the sample.
You contact the factory. They tell you "production within tolerance." Both sides feel justified. The relationship sours.
This kind of dispute needs evidence, not assumptions about intent. Sample production and bulk production can use different materials or production settings. Identify the approved reference and check the actual goods before shipment; document any difference against the written specification.
Use these five checkpoints alongside an agreed inspection plan to compare bulk with the approved sample.
Step 1: Confirm fabric lot continuity
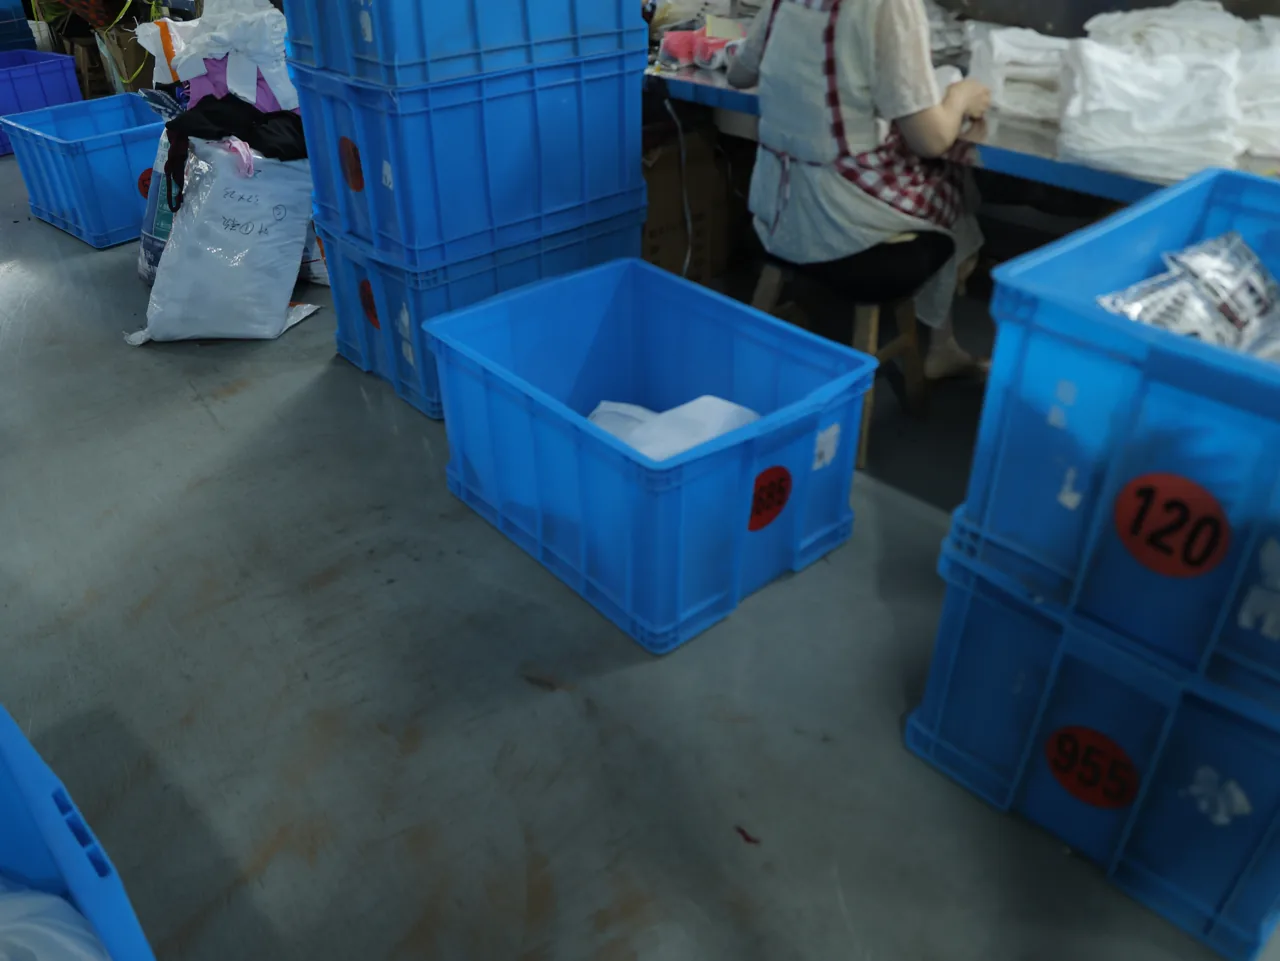
A development sample may use a different fabric roll from bulk. Confirm the bulk fabric reference and dye-lot identifiers before cutting. Agree how each lot will be checked against the approved reference.
For the fabric-control checkpoint in bulk, consult shrinkage and torque testing.
What to ask: "Is bulk fabric from the same dye lot as the sample?" If not, request a "lot match" approval — a small swatch from each new dye lot, sent to you before cutting begins, that you compare against your original sample swatch.
What to inspect at pre-shipment: Compare selected lots with the approved color reference under consistent lighting. Record lot identifiers. For measured color difference, agree the method and acceptance limit beforehand. ISO 105-J03 describes color-difference calculation, not a universal Delta-E 1.5 acceptance limit for activewear.
Step 2: Check stitching tension on critical seams
Activewear seams must suit the fabric and intended movement. Tension, thread, needles and stitch construction affect the result. Compare bulk with the approved seam specification. Investigate materials and settings if seams gape, pucker or break; appearance alone does not establish the cause.
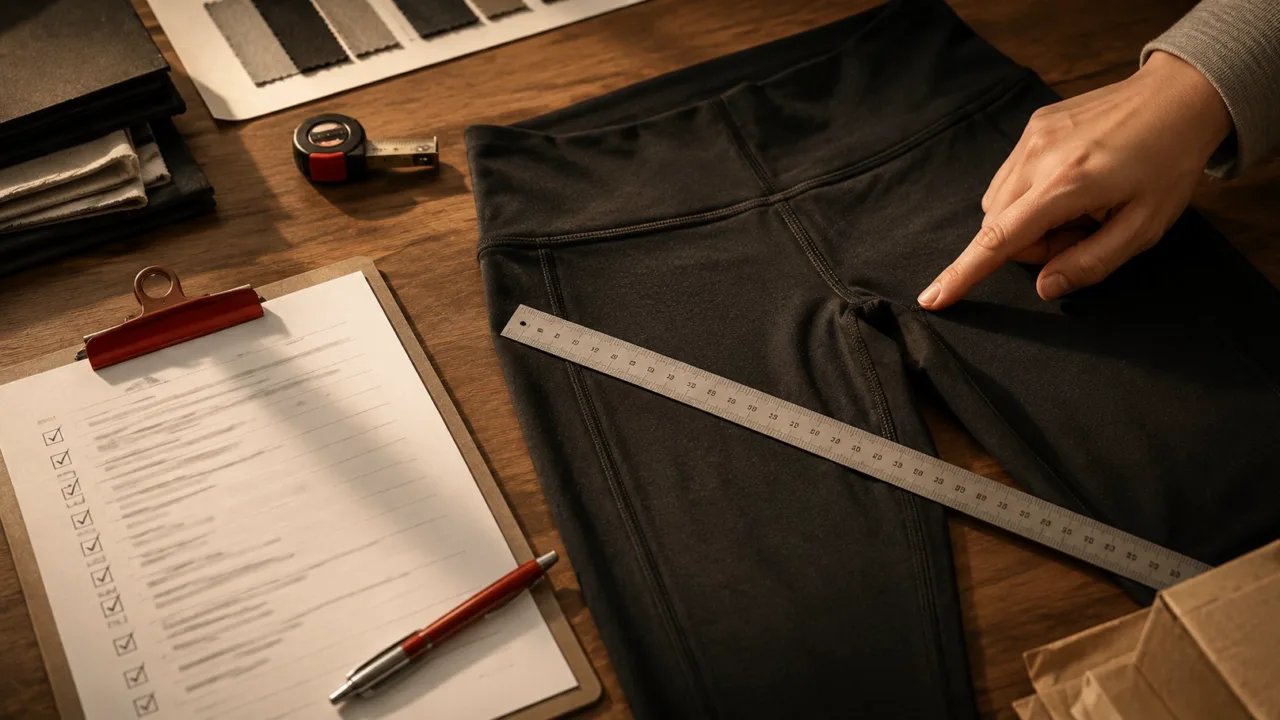
What to inspect: Check waistband, inseam and side seams on the selected pieces against the approved sample. Record puckering, broken stitches or differences in stretch behavior. A gentle stretch is an initial comparison, not a substitute for any seam-performance test specified for the order.
Why this matters: Seam performance depends on fabric, thread, construction and tension. Record the seam type and test method before production. Compare bulk with the agreed specification; neither one stitch type nor 25 N is a universal activewear requirement.
Step 3: Verify logo placement consistency
The single sample your factory sent you had a logo positioned by hand. In bulk, logos are positioned using templates and registration marks — but those tools can drift over a long production run.
What to inspect: Measure logo position from the garment reference points in the approved artwork. Record size, orientation and placement. Compare results with the written tolerance; different logo positions and sizes need agreed limits, not one universal figure.
Step 4: Test the hand-feel at three points
Fabric hand-feel changes based on:
- Dye lot variation (slightly different shrinkage, slightly different finishing chemicals)
- Storage humidity (fabric absorbs moisture differently between dyeing and cutting)
- Finishing process consistency (calendering, steaming, brushing)
What to inspect: Compare bulk and the approved reference under consistent conditions, touching the same garment areas. Record hand-feel differences and identify the fabric lot or production batch. Investigate before shipment. A tactile check does not replace agreed laboratory tests or establish a pass for the entire order.
Step 5: Verify the packaging matches the approved spec
A surprising number of disputes are about packaging, not garment quality. Sample shipments come in carefully packed individual bags. Bulk shipments come in master cartons with internal polybags, often with different label sizes, different polybag thickness, or different folding patterns than the sample.
What to inspect: Request photos of:
- 1 individual polybag (front + back)
- 1 hangtag attachment
- 1 master carton (labeled, sealed)
- The interior of one master carton (showing how units are arranged)
Match each against your approved packaging spec. Surprises here are easier to fix at the factory than at your warehouse.
Drift tolerance matrix: what’s normal vs what’s a red flag
Agree defects and measurement methods before inspection. This matrix is a decision guide, not a universal tolerance standard. AQL defines sampling decisions, not color, logo, GSM or garment-measurement tolerances.
| Drift type | Acceptable variation | Investigate | Request rework / hold shipment |
|---|---|---|---|
| Color (dye lot to dye lot) | Within color limit | Check reference | Outside agreed color limit |
| Logo placement | Within spec | Check datum | Outside agreed placement limit |
| Stitch density | Matches approved seam spec | Check construction | Outside spec or damaged seams |
| Fabric weight (GSM) | Within GSM range | Check method | Outside GSM range |
| Measurement tolerance (waist, length, inseam) | Within size tolerance | Check method | Outside size tolerance |
| Defect rate (broken stitches, holes, stains) | At or below the agreed plan’s acceptance number | Check class | At or above rejection number |
For an uncertain result, verify the method, approved reference and affected lot. Agree further checks with the buyer or inspector. Do not repeatedly draw extra samples until a failed lot appears to pass; retain the original finding, corrective action and reinspection decision.
What to put in writing before bulk starts
Before bulk starts, record the approved sample version and specifications. Discuss these approval points with the supplier and complete the project-specific details before approving production:
- Identify the approved sample and bulk fabric. Agree approval of new dye lots or material substitutions before cutting.
- Agree logo size, position, measurement points and tolerance, plus responsibility for corrections.
- Agree inspection level, defect classes, AQL values, release criteria and who reviews the report.
- Approve labels, packaging and cartons. Agree how changes will be reviewed before bulk packing.
Ask the supplier to flag unmet requirements before approval. Record exceptions and agreed alternatives; unresolved specifications are not approved production instructions.
When to use a third-party inspection
Consider independent inspection when you cannot verify the goods yourself or the order warrants additional checks. Ask the inspection provider to quote against the order location, product range, inspection scope and reporting requirements. Agree the sampling plan and defect classifications in advance; inspection time and fees depend on the actual job, not a universal order-size threshold.
An inspection report records findings against the agreed requirements; it does not guarantee every unit or automatically settle a commercial dispute. For background on sampling sizes and acceptance numbers, see our AQL inspection guide.
For independent descriptions of the inspection scope, compare Intertek’s textiles and apparel inspection service with QIMA’s product-inspection overview.
Documenting drift for dispute resolution
If drift is severe enough to push back, documentation determines whether you get rework or a credit. Build the case with:
- Side-by-side photos. Approved sample + 3-5 random bulk pieces, photographed under the same lighting, same camera angle, same scale reference (a ruler in frame). Photos taken at the factory carry more weight than photos taken later in your warehouse.
- Measurement records. Record each piece by size using agreed measurement points and tolerances. Keep individual results and identifiers: averages can conceal out-of-tolerance garments.
- Inspection-plan records. Record lot size, inspection level, defect classes and the plan’s acceptance and rejection numbers. Keep individual findings. AQL 2.5 is not a 2.5% sample-defect cutoff.
- Time-stamped factory communications. Save every email and WhatsApp message about specs, tolerances, and sample approval. The factory’s own words about "within tolerance" vs your documented spec is usually what resolves the dispute.
Records help both sides compare evidence and agree next steps. Resolution time, refunds and rework depend on the findings and order terms; documentation alone guarantees none of them.
Why factories aren’t always the bad guys
Investigate logo-position or hand-feel differences against the approved specification. Identify affected units and check material and production records. Neither a good sample nor an explanation about normal variation proves that the actual bulk order meets the agreed requirements.
Inspection checks selected goods against agreed requirements; it cannot guarantee every garment is identical. Decide how findings will be reviewed and what must be resolved before shipment, rather than treating inspection as a guarantee.
For a first order, agree the approved reference, inspection access and release decision before production. Keep the report with the specifications and approval messages so both sides can see what was checked, what differed and what remains to resolve. This record cannot substitute for clear requirements.
For the approval sequence behind that comparison, refer to proto, fit, size-set and PP samples.
Related guidance. (See also: how factory sample policy reveals their actual operations.)Frequently asked questions
What is AQL 2.5 and why is it the standard for activewear?
AQL means Acceptance Quality Limit. It is used with a specified sampling plan, inspection level and lot size to determine acceptance and rejection numbers. AQL 2.5 does not mean a batch passes whenever 2.5% or less of the inspected sample is defective. Agree values by defect class and read the applicable table; there is no single mandatory AQL for every activewear order. Sampling also does not certify every garment or replace product-specific safety and performance checks.
Can I require zero drift in my contract?
Agree measurable limits rather than relying on “zero drift.” Define measurement points, test conditions, approved references and how nonconforming goods will be handled. Different sizes, fabrics and logo positions may need different tolerances. Inspection documents findings against those requirements; it does not itself determine legal enforceability or guarantee a remedy.
Who pays for rework when drift exceeds tolerance?
Agree responsibility for rework, reinspection and costs before production. Document differences from the approved specification and review the order terms with the supplier. A tolerance defines the requirement; it does not by itself establish who pays or guarantee a discount.
How long does pre-shipment inspection take and when should I schedule it?
Book inspection with the supplier and inspector before the planned shipment. Confirm how much of the order must be finished and packed, what sample size and checks are required, and when the report will be reviewed. Allow time for any agreed corrective work and reinspection. Do not treat a fixed day count or completion percentage as suitable for every order.
Is it normal for the first bulk order with a new factory to have more drift than later orders?
A first order may expose gaps in the brief or differences between development and production, but there is no verified universal multiplier for that risk. Use the approved sample, size specifications, fabric references and inspection plan to assess the actual order. Base order quantities on your own demand and cash-flow planning, not an unsupported rule about how much more a new factory will vary.
This article was written by the manufacturing team at YOUMEGA, an activewear OEM/ODM factory in Xiamen, China. We’re happy to walk through pre-shipment inspection planning for your specific order — tolerance ranges, AQL sample sizes, third-party inspector coordination. Get in touch if you want to talk specs before bulk starts.